Cette article propose une prise-en-main rapide du Raspberry Pico.
Distribution de travail : Lubuntu 22.04
Matériel :
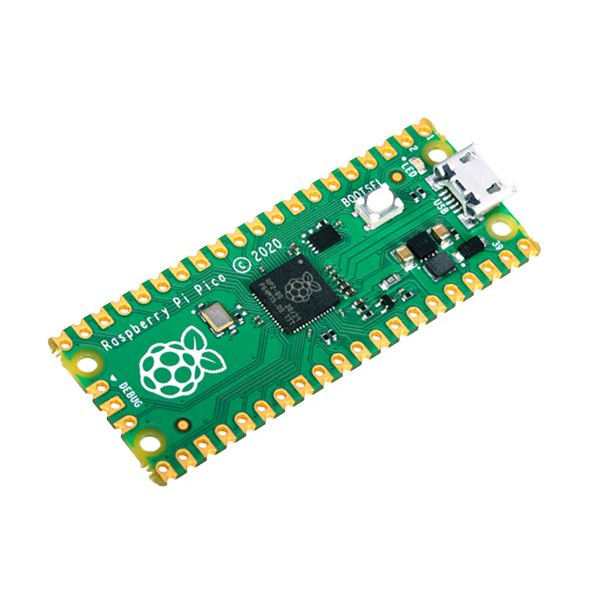
* Carte Raspberry Pi Pico-H avec connecteurs latéraux soudés : https://www.gotronic.fr/art-carte-raspberry-pi-pico-h-35658.htm

I/ Mettre-à-jour le micro-logiciel du Raspberry Pico.
1/ Tenir appuyer le boutton « BOOTSEL » sur le Raspberry Pico
2/ Brancher le Raspberry Pico sur l’ordinateur via un câble USB<->Micro-USB
3/ Relâcher le bouton « BOOTSEL« .
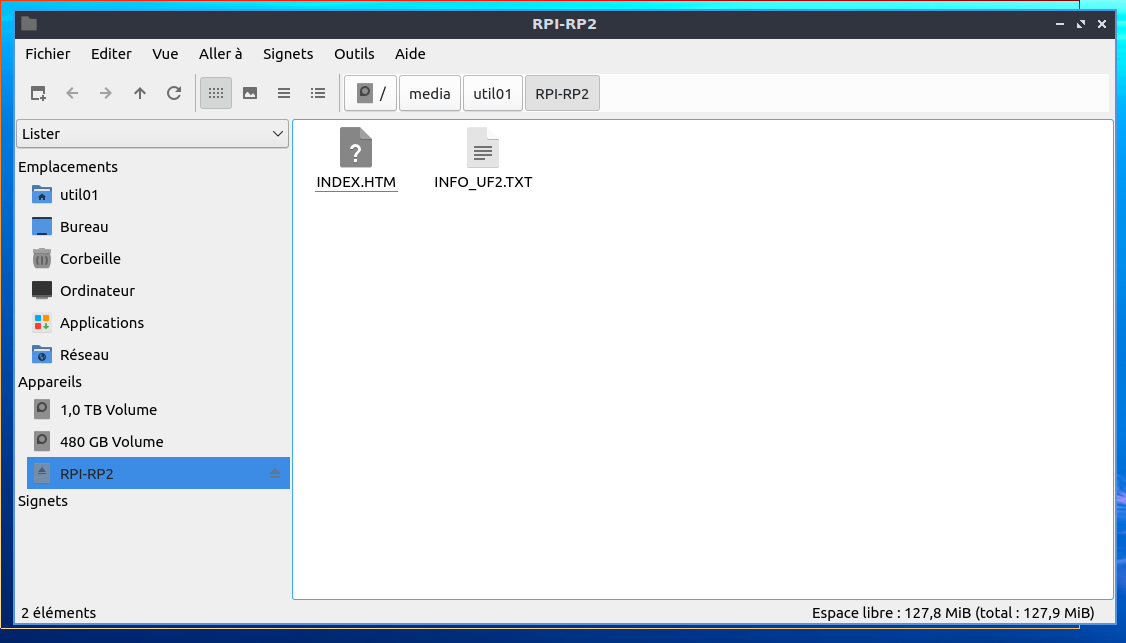
4/ Sous Ubuntu, une fenêtre apparaît indiquant que le Raspberry Pico est reconnut en tant que mémoire de masse :
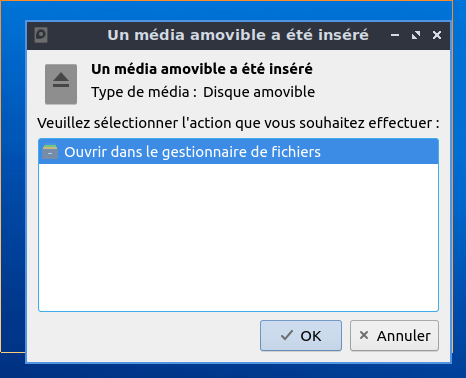
Soit :
5/ Sur la page suivante :
https://micropython.org/download/rp2-pico/
Télécharger la dernière version du micro-logiciel, ici :
https://micropython.org/resources/firmware/rp2-pico-20220618-v1.19.1.uf2
6/ Copier le fichier dans le Raspberry Pico.
7/ A la fin de la copie, le Raspberry Pico redémarre.
II/ Configuration de Ubuntu.
1/ Ajouter l’utilisateur de Ubuntu au groupe ‘dial’.
util01@station40:~$ sudo usermod -a -G dialout util01
2/ Redémarrer l’ordinateur.
3/ Vérification.
util01@station40:~$ lsusb
...
Bus 002 Device 005: ID 2e8a:0005 MicroPython Board in FS mode
...
util01@station40:~$ sudo dmesg
...
[ 707.496835] usb 2-1.8: new full-speed USB device number 6 using ehci-pci
[ 707.607350] usb 2-1.8: New USB device found, idVendor=2e8a, idProduct=0005, bcdDevice= 1.00
[ 707.607362] usb 2-1.8: New USB device strings: Mfr=1, Product=2, SerialNumber=3
[ 707.607367] usb 2-1.8: Product: Board in FS mode
[ 707.607370] usb 2-1.8: Manufacturer: MicroPython
[ 707.607373] usb 2-1.8: SerialNumber: e6614864d3522736
[ 707.608863] cdc_acm 2-1.8:1.0: ttyACM0: USB ACM device
III/ Installation de l’environnement de développement.
1/ Installation de Thonny : Un environnement de développement intégré pour débutant.
Lien : https://thonny.org/
util01@station40:~$ bash <(wget -O – https://thonny.org/installer-for-linux)
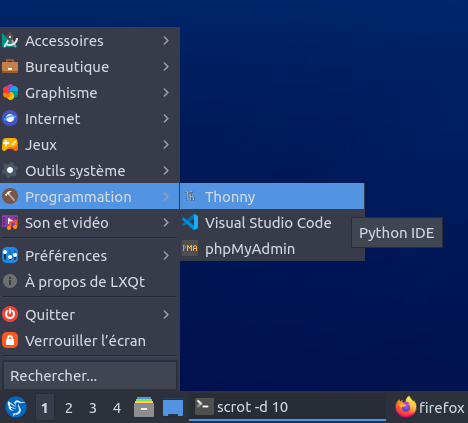
2/ Lancement de Thonny.
– Via le menu : [Menu Lubuntu][Programmation]Thonny]
– Ou en ligne de commande :
util01@station40:~$ ~/apps/thonny/bin/thonny
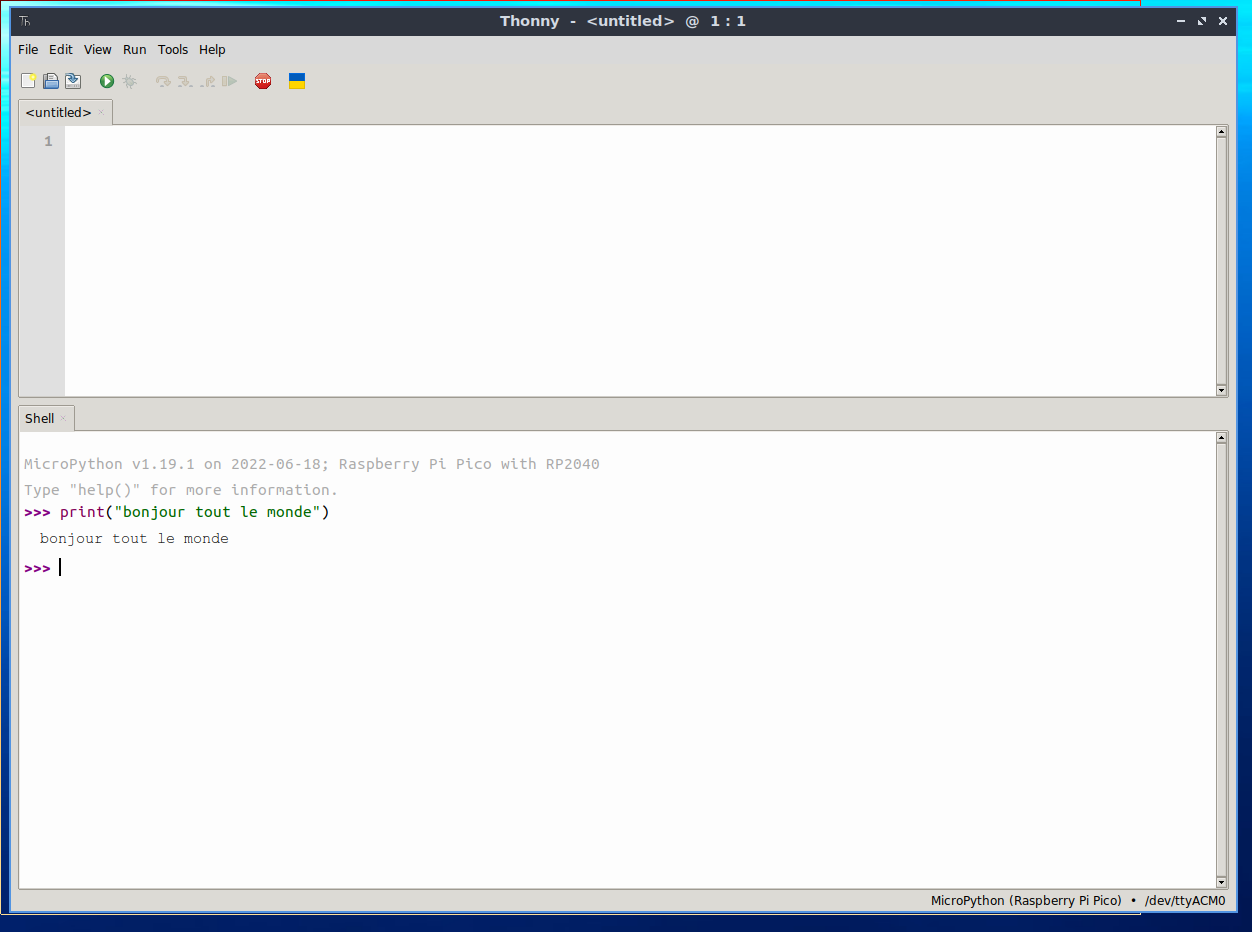
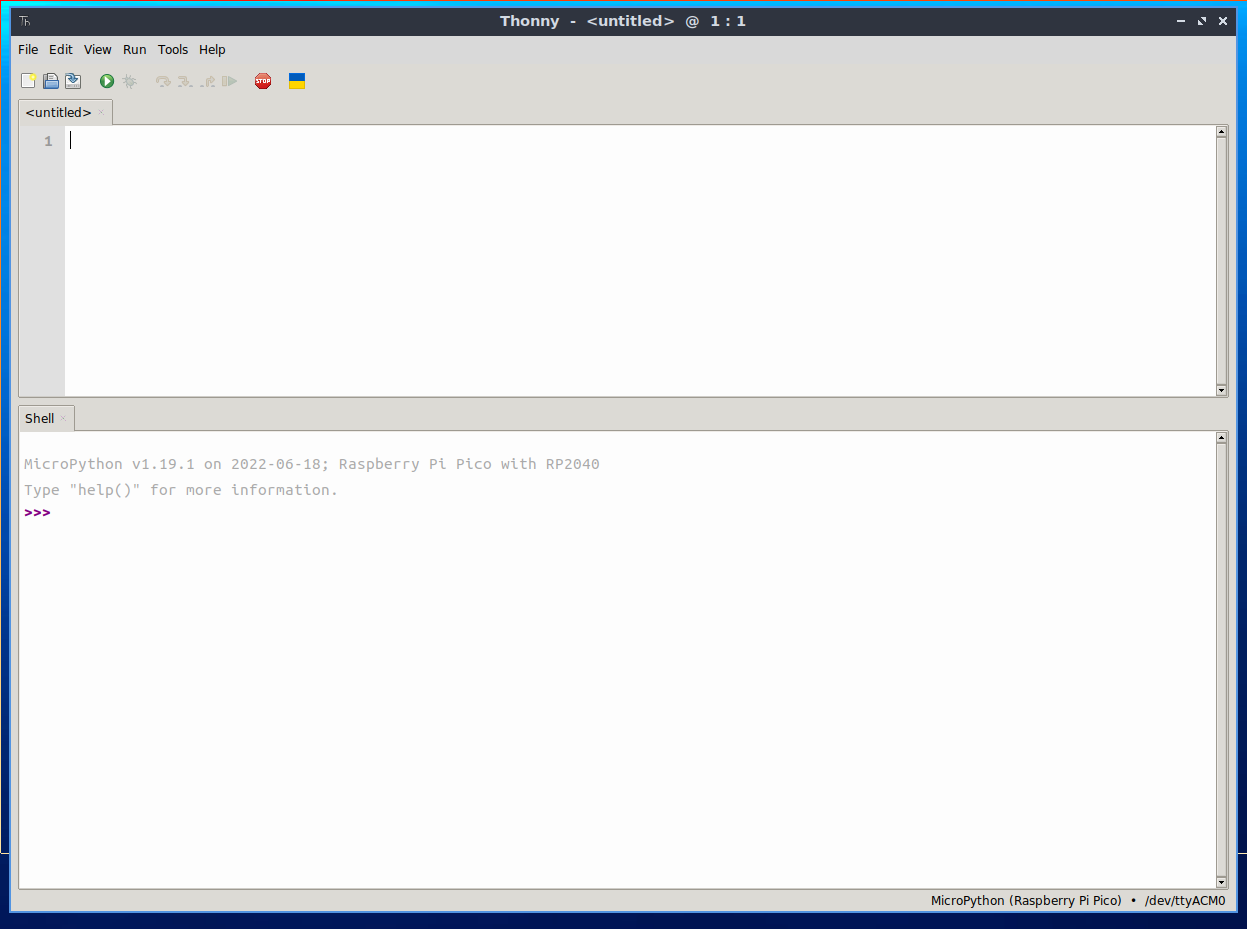
L’éditeur apparaît :
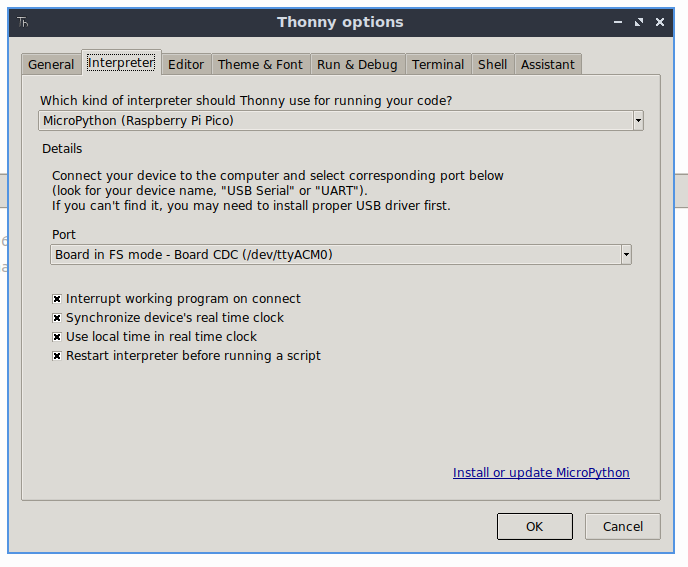
4/ Configuration de Thonny
– Menu : [Run][Configure interpreter]
– Onglet : [Interpreter]
Sélectionner les informations suivantes :
– Which kind of interpreter should Thonny user for running your code? : Micropython (Raspberry Pi Pico)
– Port : Board in FS mode – Board CDC (/dev/ttyACM0)
5/ Test.
Dans la fenêtre « Shell » :
MicroPython v1.19.1 on 2022-11-18; Raspberry Pi Pico with RP2040
Type "help()" for more information.
>>>
Taper :
>>> print("bonjour tout le monde")
Et valider.
Résultat :
bonjour tout le monde
>>>